Munin is free and open source software for monitoring your server, network and application. Munin offers monitoring and alerting for server, switches, application and services.
Munin is an excellent system monitoring tool similar to RRD tool which will give you ample information about system performance on multiple fronts like a disk, network, process, system, and users. These are some of the default properties Munin monitors.
In this article I will show how to install and setup munin on CentOS 7 server.
How munin works?
Munin works on a client-server model. Munin server process on the main server try to collect data from client daemon which is running locally(Munin can monitor it’ss own resources) or from a remote client(Munin can monitor hundreds of machines) and displays them in graphs on it’s web interface.
Install and Setup Munin Server on Ubuntu/Debian based Machines
Follow the below steps to install and setup munin on your Ubuntu/Debian based machines.
1. To run the munin you will need web server, that’s why install the Apache web server with munin.
$ apt-get install munin apache2
2. If you want munin to use the name centos72.looklinux.local instead of localhost. Please open edit the setting in /etc/munin/munin.conf
# vim /etc/munin/munin.conf

[localhost]
    address 127.0.0.1
    use_node_name yes
Change to :
[centos72.looklinux.local]
    address 127.0.0.1
    use_node_name yes
3. You can also change the hostname of the munin node.
# vim /etc/munin/munin-node.conf

host_name localhost.localdomain
Change to :
host_name centos72.looklinux.local
4. Now edit the Apache Virtual host configuration file to add the permission to access your network.
# vim /etc/httpd/conf.d/munin.conf
Add network segment that you allow to access to the CentOS server.
AuthUserFile /etc/munin/munin-htpasswd
AuthName "Munin"
AuthType Basic
require valid-user

Order Deny,Allow
Deny from all
Allow from 127.0.0.1 192.168.0.0/24
..
..
5. Munin statistics page shall be protected by a username and password. We can add the new user (admin) and password to /etc/munin/munin-htpasswd with htpasswd command line. So we have to setup basic Apache authentication before we can start access the munin statistic page.
# htpasswd /etc/munin/munin-htpasswd admin
New password:
Re-type new password:
Adding password for user admin
6. Restart Apache and Munin.
# /etc/init.d/apache restart

# /etc/init.d/munin-node restart
7. Allow port 80 in the firewall permanently to access munin.
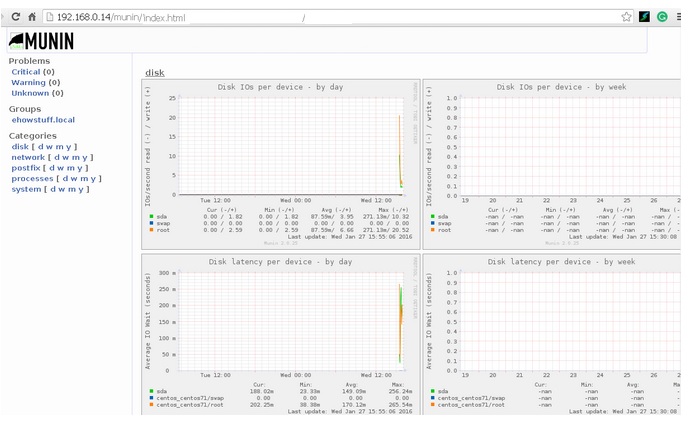
8. Accessing Munin web interface
http://192.168.0.14/munin/
If you find this tutorial helpful please share with your friends to keep it alive. For more helpful topic browse my website www.looklinux.com. To become an author at LookLinux Submit Article. Stay connected to Facebook.
Leave a Comment